Applying blush can enhance your beauty and create a youthful glow, but the technique often intimidates many. The key is to choose the right shade for your skin tone, determine the correct placement, and apply it with the right tools. This article will provide essential tips that will help you master the art of blush application for a natural-looking radiance.
Choosing the Right Shade
Before you even reach for the blush brush, selecting the right shade is crucial for achieving a flawless look. Blush comes in various formulations and hues, so it’s important to consider your skin tone. Generally, those with cool undertones should opt for pinks and plums, whereas warmer undertones can benefit from peach and corals. Another tip is to test the blush on your cheeks before purchasing; it should appear as a natural flush rather than a stark color. Additionally, powder blushes provide a matte finish, while cream formulations can provide a dewy look, so think about the finish that best suits your style. Keeping in mind the seasons can also help; lighter shades may work better in spring and summer, while deeper hues can be flattering during fall and winter.
Determine the Right Placement
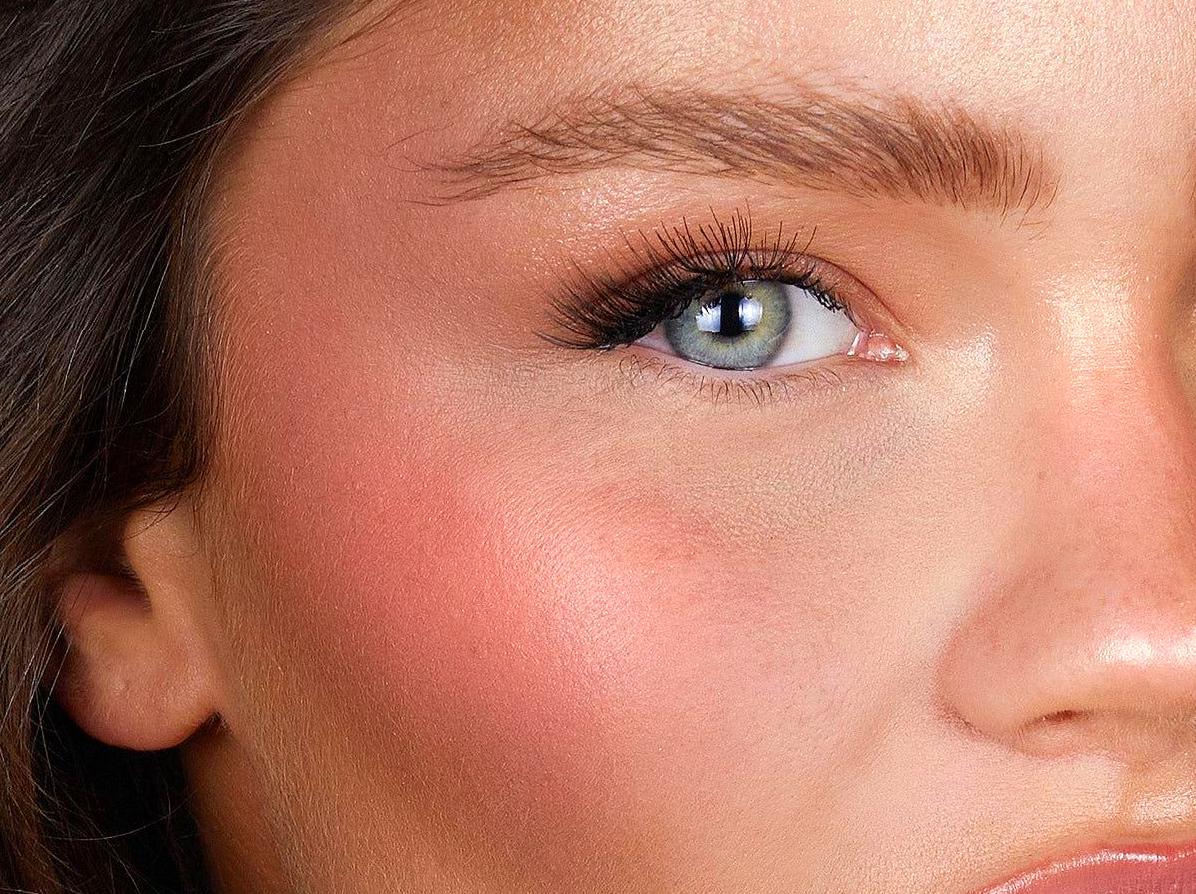
The placement of the blush can significantly alter your overall appearance. To achieve a naturally rosy look, consider the shape of your face. For oval faces, applying blush on the apples of the cheeks and blending upwards towards the temples can create harmony. If you have a round face, keep the blush slightly higher on your cheeks to elongate the appearance of your face. Those with square faces might prefer applying blush along the edges of the jawline to soften prominent features. A heart-shaped face, on the other hand, benefits from blush being applied a bit higher on the cheekbone to balance a wider forehead. Experimenting with placement will allow you to find what looks most flattering and natural for your unique face shape.
Tools of the Trade
Choosing the right tools can make a significant difference in how your blush turns out. A good-quality brush is vital; it should be fluffy and soft but densely packed for even application. A stippling brush can give a more airbrushed finish, while an angled brush works well for precise placement. For cream blushes, using your fingers or a makeup sponge can help with blending. Always remember to tap off excess product from your brush before applying, as this will help you build color gradually instead of applying too much at once. Lastly, taking care of your brushes by cleaning them regularly will keep them in prime condition and extend their lifespan, ensuring smooth application every time.

Application Techniques
The technique you use to apply blush can also affect the final look. Start with a light hand; it’s easier to build up color than to take it away. Smile to find your cheekbones, and apply the blush to the apples of your cheeks, blending in circular motions. From there, sweep the brush towards your temples to create a gradient effect. If using cream blush, pat it gently on your skin rather than rubbing, to avoid disturbing any makeup underneath. A useful technique is to use the “3 and E” method; apply the blush in a “3” shape on one side of your face and an “E” shape on the other, which helps blend the color naturally with bronzer. Ultimately, practice is key, so don’t be afraid to experiment until you find the application method that works best for you.

Setting Your Blush
To ensure your blush lasts throughout the day, setting it correctly is essential. After applying your blush, a light dusting of translucent powder can help lock it in place. Alternatively, for cream blushes, using a translucent setting spray can help it meld into the skin and increase longevity without a powdery finish. Additionally, consider carrying a travel-sized powder or blush for quick touch-ups throughout the day, particularly if you have oily skin. The goal is to maintain that fresh, natural glow without looking overdone. A good setting technique will not only keep your blush intact but will enhance your overall makeup look.
Conclusion
In conclusion, applying blush is a simple yet impactful way to enhance your beauty. By choosing the right shade, determining the proper placement, and using the correct tools and techniques, you can achieve a fresh and natural look. Remember to set your blush to ensure it lasts, and don’t shy away from practicing your technique. With these tips, you’ll be well on your way to becoming a blush application expert, giving you that radiant complexion you desire.
FAQs
Your skin tone largely dictates the best blush shade for you. Cooler undertones may look great in pinks and berries, while warmer tones can opt for corals and peaches.
2. Can blush be used on darker skin tones?
Absolutely! Darker skin tones can benefit from bold shades like deep berries or bright oranges, which will stand out beautifully.
3. Is it necessary to set my blush with powder?
While it isn’t strictly necessary, setting your blush with powder can help it last longer, especially in humid conditions or if you have oily skin.
4. Can I apply blush on bare skin, or should I wait until I’ve done my foundation?
Blush typically looks best over foundation, as it allows for a more even application and helps the blush blend seamlessly into your skin.
5. How do I fix blush that is too heavy on my cheeks?
If you’ve applied too much blush, you can use a clean, fluffy brush to blend it out or dab some translucent powder to tone it down.