Achieving flawless winged eyeliner can be a daunting task, but with the right techniques and tools, anyone can master this eye makeup staple. The key to perfecting your winged eyeliner lies in practice, having the right products, and understanding your eye shape. This guide will take you through the essential steps, tips, and tricks to help you create a stunning winged eyeliner look that complements your eyes and enhances your overall makeup.
Understanding the Basics of Winged Eyeliner
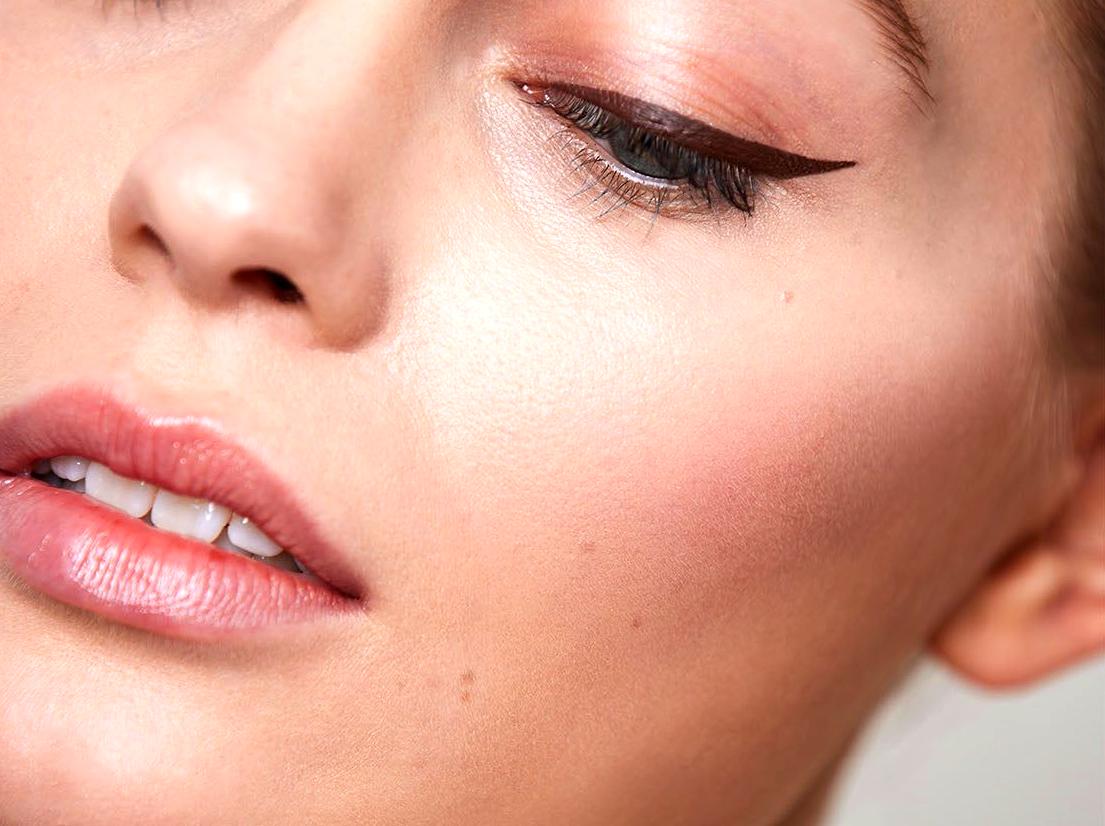
Before diving into the application process, it’s essential to understand the basics of winged eyeliner. The winged eyeliner look can vary from subtle to dramatic, depending on your preference. A classic wing involves extending a line from your upper lash line outwards and upwards, creating a flick that accentuates the eye’s natural shape. The thickness of the line can also vary, with some opting for a thin, delicate finish and others going for a bold, statement-making look. Familiarize yourself with different eyeliner types—gel, liquid, pencil—in order to choose the one that works best for you. Each type has its own application technique and finish, so don’t hesitate to experiment with different options. Ultimately, the winged eyeliner style you choose should reflect your unique makeup aesthetic and the occasion you’re dressing for.
Tools You Will Need
To create flawless winged eyeliner, having the right tools is crucial. Here’s a list of essential items you’ll need:
- Eyeliner: Choose between liquid, gel, or pencil based on your comfort level.
- Angled Brush: If using gel eyeliner, an angled brush will help with precision.
- Eye Primer: This ensures that your eyeliner stays put and does not smudge.
- Cotton Swabs: Perfect for correcting mistakes without ruining your makeup.
- Setting Spray: Use it to set your look and enhance longevity.
With these tools at your disposal, you’re one step closer to mastering the winged eyeliner technique. Investing in quality products not only makes a difference in application but also enhances the overall look.
Step-by-Step Application Process
Now that you have your tools ready, it’s time to get started on the application process. Follow these steps for the best results:
- Prepare Your Eyelids: Begin by applying an eye primer to ensure smooth application and increased longevity.
- Mark Your Wing: Use a light pencil to mark the desired angle of your wing. A good tip is to align the wing with the lower lash line.
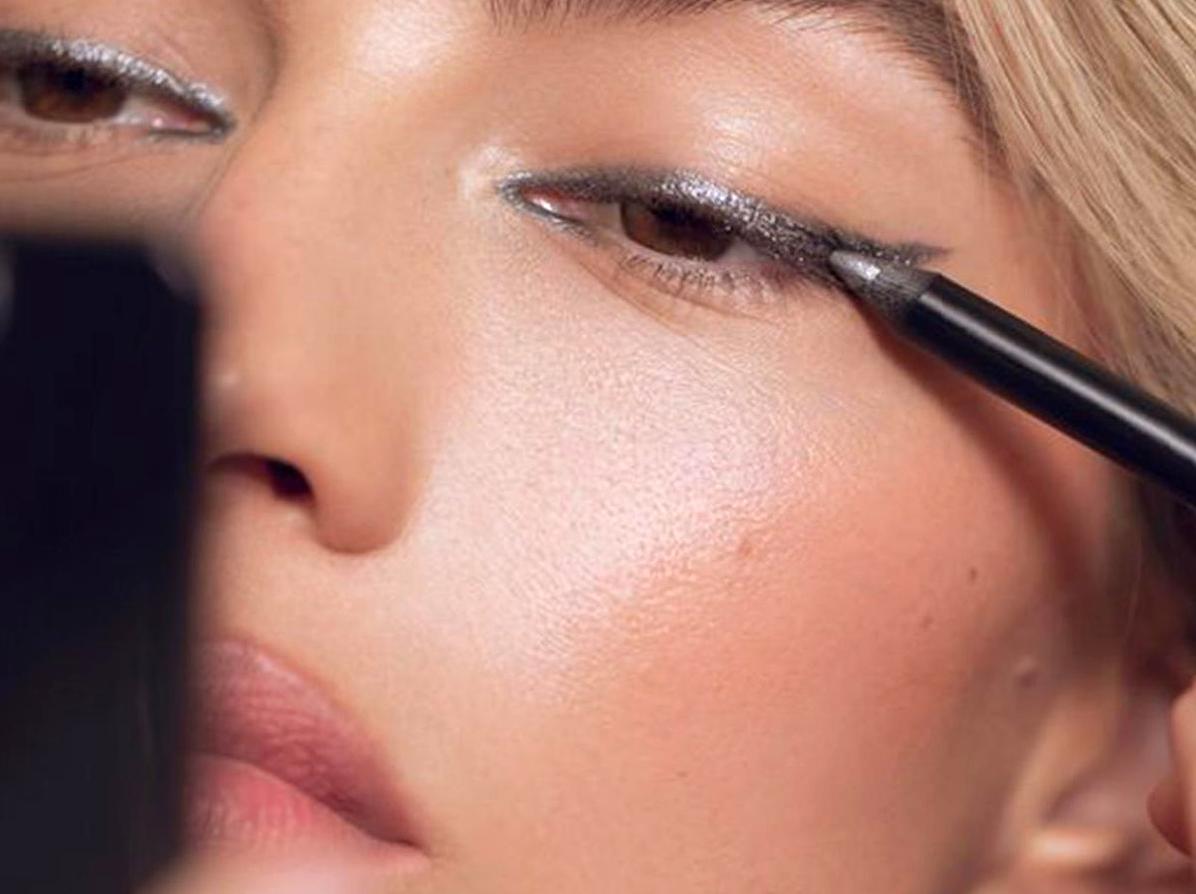
- Apply Eyeliner: Starting from the inner corner, apply your eyeliner along the lash line. Building the thickness as you near the outer corner will create a seamless transition.
- Create the Wing: Using the mark you made earlier as a guide, draw the wing outwards from the outer corner. Connect it back to the lash line for a sharp finish.
- Refine and Set: Use a cotton swab to correct any mistakes or to sharpen the edges. Finish off with a setting spray to lock in your look.
By following these steps carefully, you’ll ensure not only precision but also a more effortless application. Remember, practice is key; don’t be discouraged if it doesn’t come out perfect the first time.

Tips for Different Eye Shapes
When it comes to winged eyeliner, not every style suits every eye shape. It’s important to adapt your technique based on your unique features. Here are some tailored tips for various eye shapes:
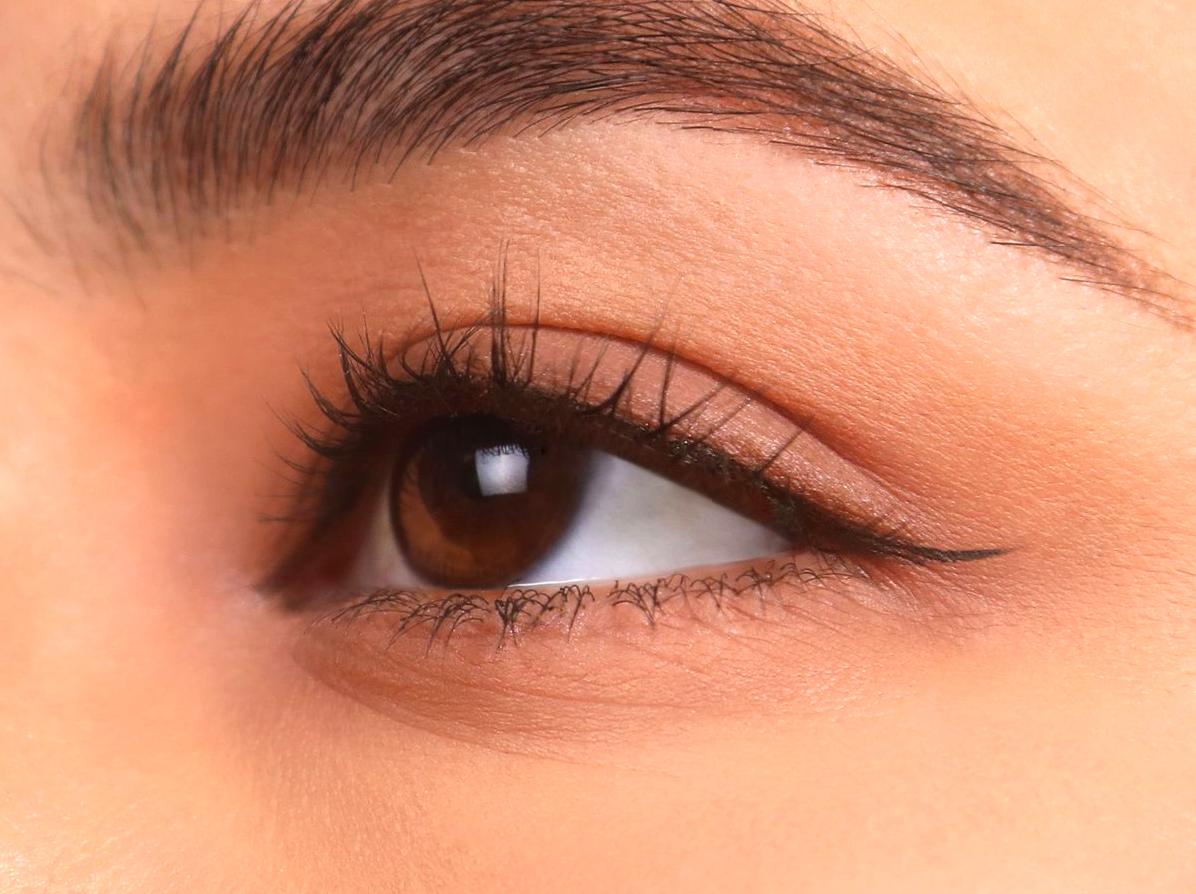
- Almond Eyes: Almost any winged eyeliner style works, but a slightly extended flick can accentuate their natural shape.
- Round Eyes: Opt for a longer and more elongated wing to create the illusion of length.
- Hooded Eyes: Keep eyeliner application thinner on the lid and make the wing more pronounced to open the eyes.
- Monolid Eyes: A straight wing extending outwards helps to define the eyes without overpowering them.
- Mature Eyes: Focus on a softer line with minimal flicking; a thin, smudgeable eyeliner is ideal.
Understanding your eye shape can dramatically change the way your eyeliner looks and feels. Experiment with various techniques until you find what flatters you best.

Conclusion
Mastering winged eyeliner is a skill that can elevate your makeup game, making your eyes pop and adding a touch of elegance to any look. By understanding the basics, using the right tools, and customizing your technique to suit your unique eye shape, you can achieve a flawless wing every time. Remember, practice makes perfect, so don’t hesitate to try different styles and products until you find your go-to winged eyeliner look.
FAQs
To make your winged eyeliner last, start with an eye primer, use waterproof formulas, and finish with a setting spray to lock everything in place.
2. What should I do if I make a mistake while applying winged eyeliner?
If you make a mistake, use a cotton swab dipped in makeup remover to correct it without ruining the rest of your makeup.
3. Can I use eyeshadow for winged eyeliner?
Yes! You can use a wet brush with eyeshadow for a softer look, especially for beginners. It gives you more control and a more blended appearance.
4. How do I choose the best eyeliner for my winged look?
Choose an eyeliner based on your skill level and desired finish. Gel eyeliners usually provide good control, while liquid liners offer a bold, precise line.
5. What if I have small eyes—can I still wear winged eyeliner?
Absolutely! You can still wear winged eyeliner; just opt for a thinner line and a subtle flick to avoid overpowering your small eyes.